Quick Start
The fastest way to understand Pocper is to bring in a document you already use and send it to someone. Four steps, start to finish.
Want the concepts first? How Pocper works is a two-minute read and explains the vocabulary used below.
Step 1 · Bring in a document you already use
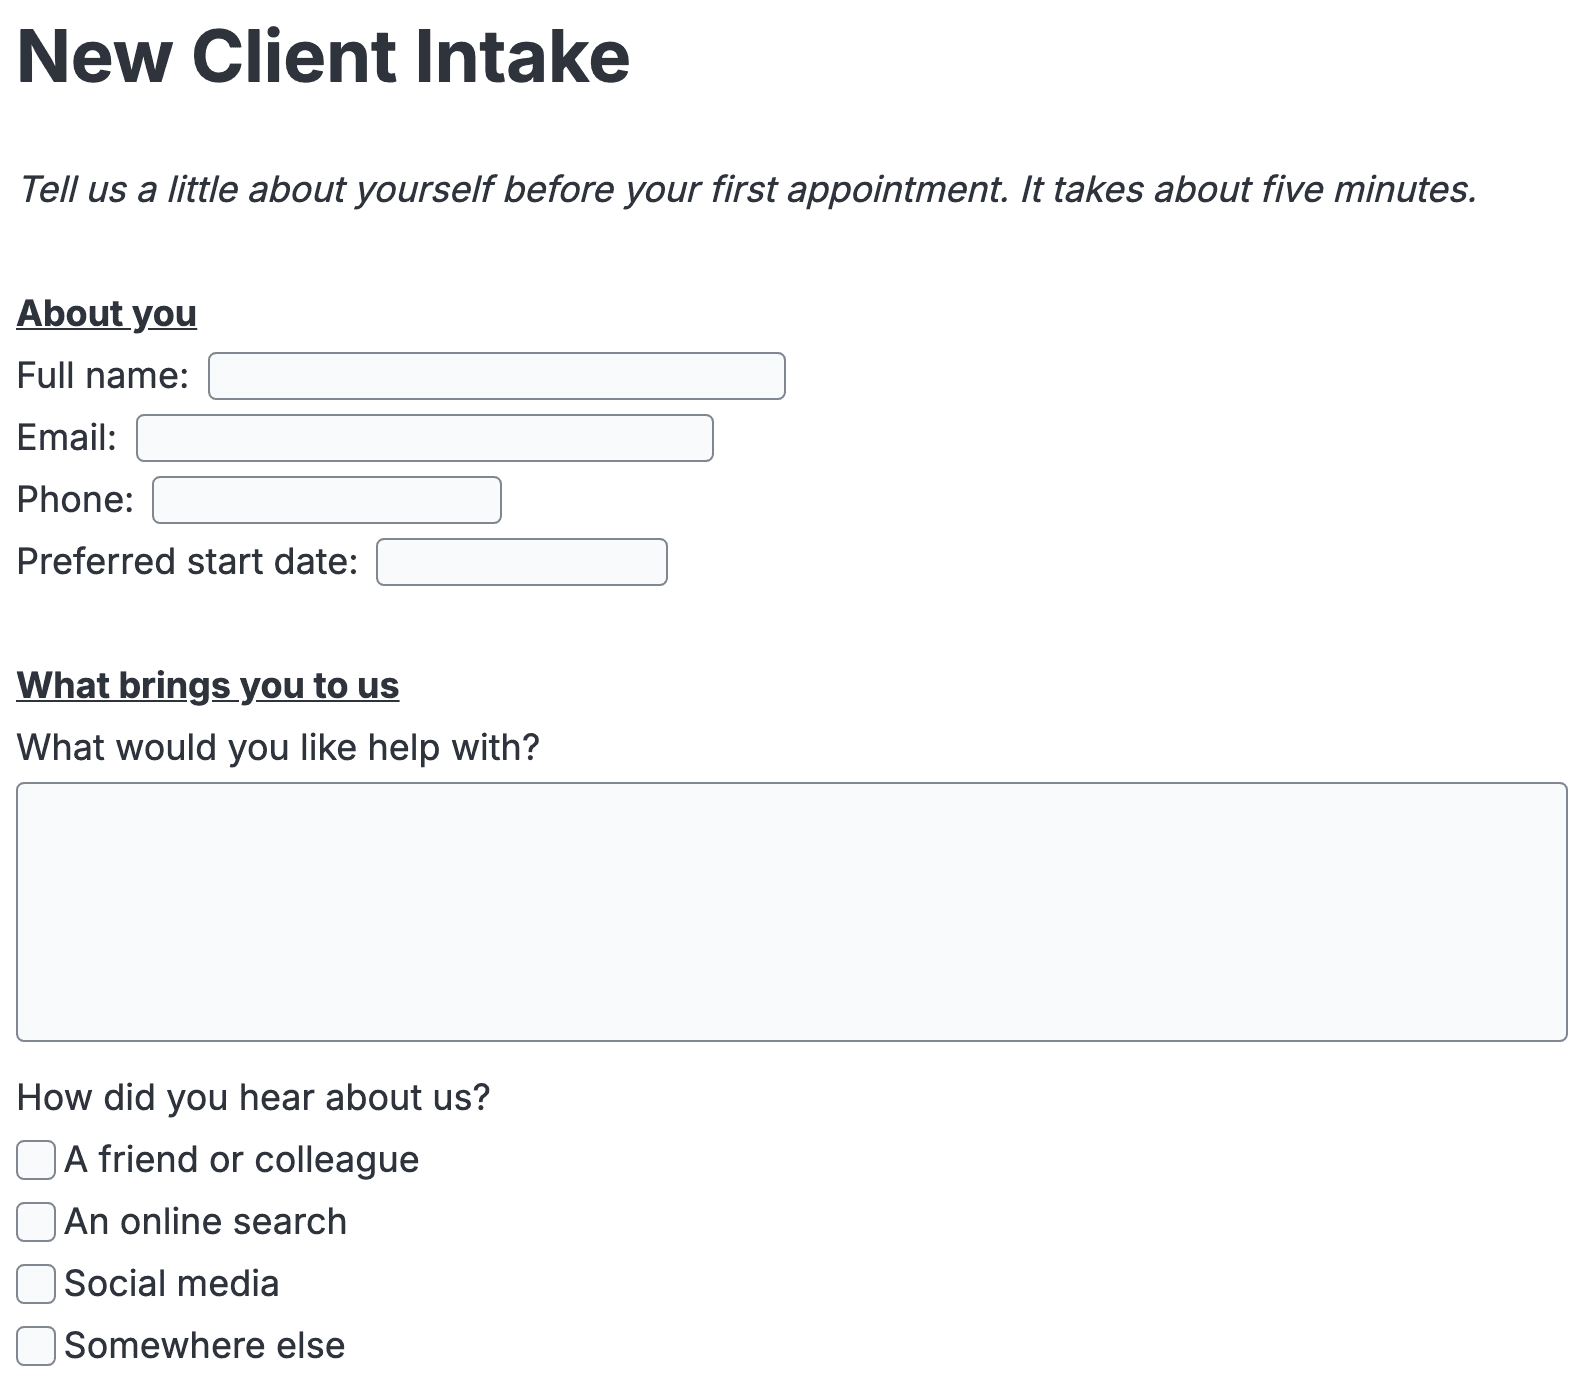
Almost everyone starts from something that already exists — an intake sheet in Word, a consent form as a PDF, an old Google Form. Open the template section and import it: drop the file in or paste the link, and Pocper reads it into a template. The prose stays prose, and the places people write become real fields.
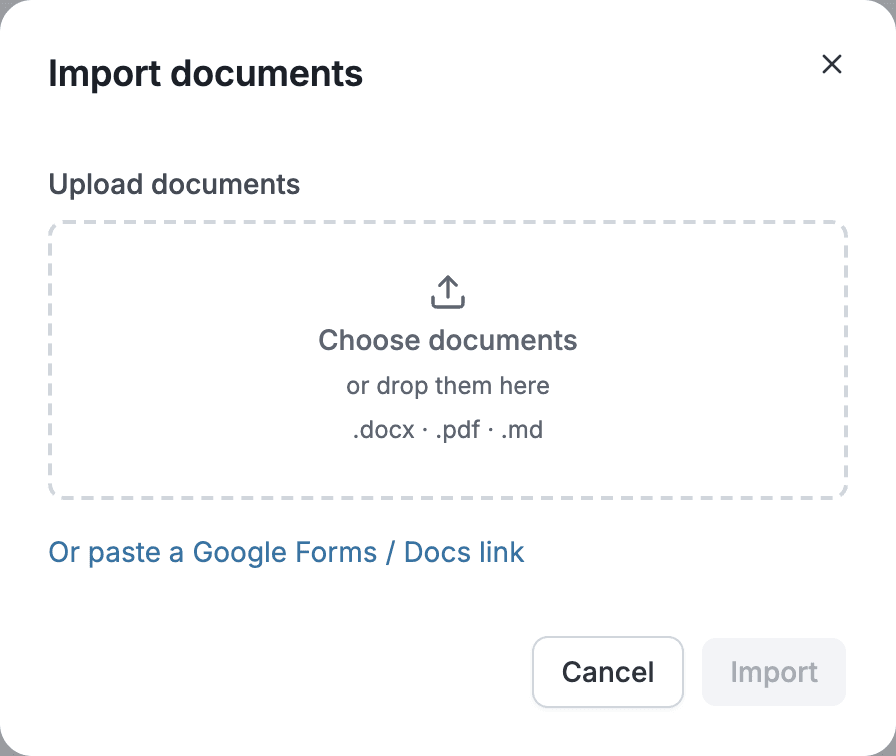
This is the shortest path, but not the only one. If you do not see an import option, or would rather not start from your own file, the template market gets you to the same place with a ready-made document, and a blank page works too.
No document to hand? In the template section, describe the one you need and Pocper AI drafts it as a template for you to edit.
Step 2 · Check the fields
You are now in the editor, and the document looks like a page rather than a form builder. Read it through once and check what Pocper marked as fillable. An imported document usually needs a little attention: a line it missed becomes a field, a field it invented gets deleted.
Editing works the way you expect — click and type. To add a fillable block, type a slash on an empty line and pick from the menu: short answer, long answer, date, checkbox, file upload, signature. There is no save button; the document saves as you type.
Step 3 · Send the link
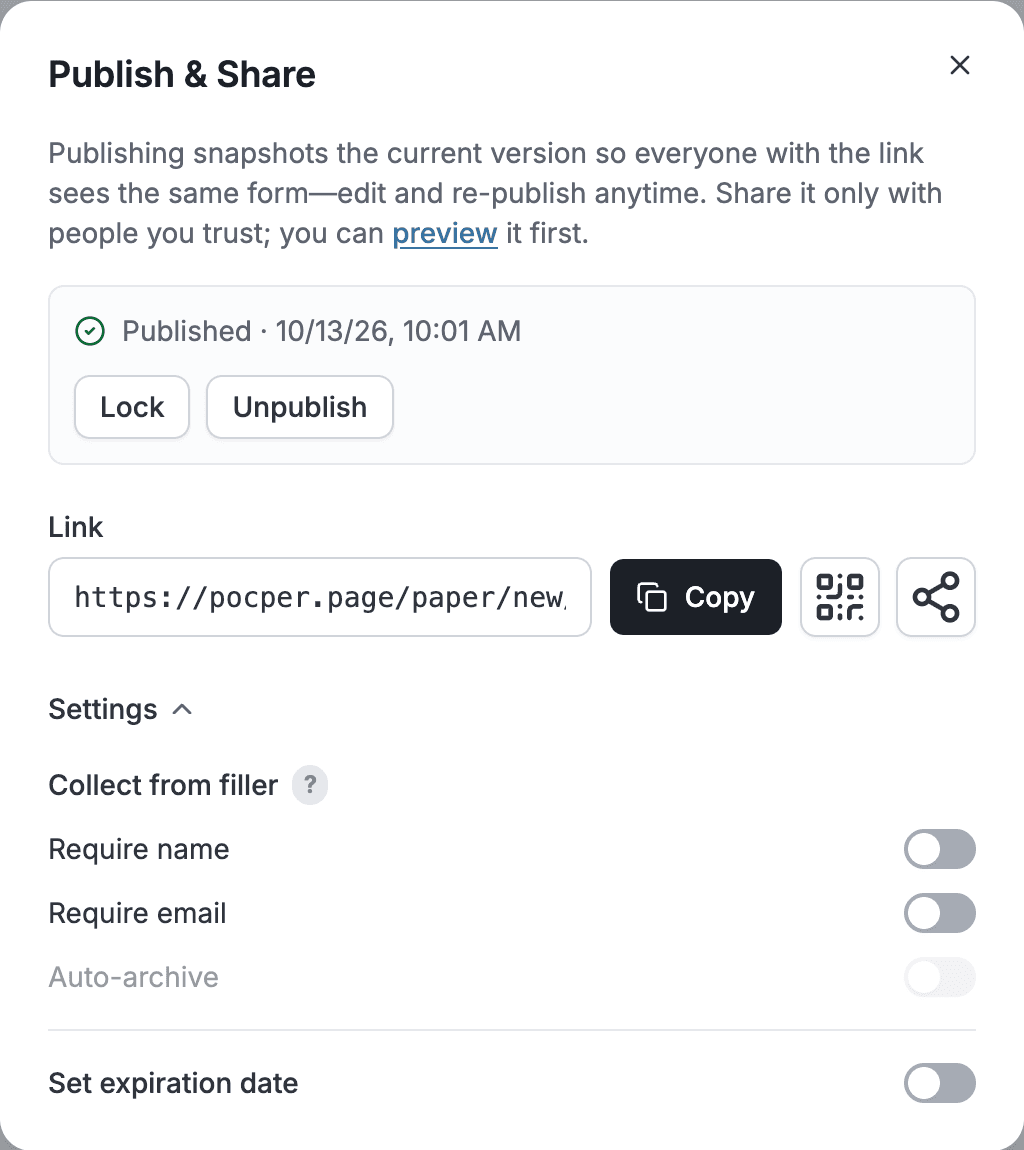
Click Publish in the top toolbar. The share dialog opens on a Publish button — nothing goes live until you press it, and then Pocper hands you the link. Open its settings if you want to tighten the share:
- Require name — the recipient enters their name before the document opens.
- Require email — the recipient enters their email, which makes following up easier.
- Set expiration date — the link stops working after a date you choose.
Send the link however you normally reach this person — email, chat, a printed QR code. They need no account and nothing installed; it opens in their browser and works on a phone.
Step 4 · Read what comes back
You do not have to wait for the submission. While the other person is typing, their answers appear on your side, character by character.
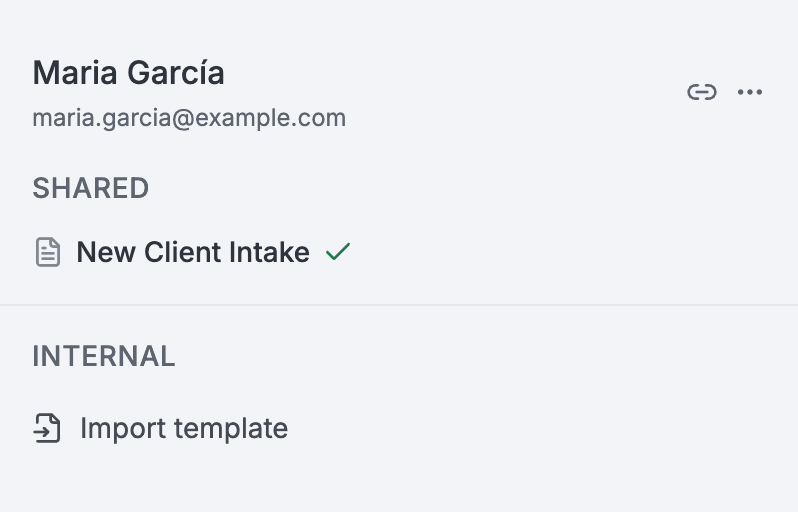
When they submit, the document files itself. It becomes a paper under that client, in that client's folders, with a green check next to it. Nothing to sort, nothing to move.
That is the whole loop: bring a document in once, send it as many times as you need, and let the answers file themselves.